Why Your Smartphone is Your Best Friend in a Crisis
Imagine the unthinkable happens: a fire, flood, or hurricane damages your home. Amid the emotional turmoil, your insurance company will ask for a list of everything you lost. This is where the “burden of proof” falls on you, and having a detailed inventory can make all the difference. If you’re facing a tough claims process, the support of a Florida insurance claim lawyer can be invaluable in advocating for your rights and ensuring you receive what you’re owed.
Creating this record beforehand provides incredible peace of mind. Instead of trying to recall every single item from memory while under stress, you’ll have a clear, comprehensive list ready to go. This simple preparation turns a potential nightmare of paperwork and disputes into a much more manageable process, helping you get back on your feet faster. Think of it as a love letter to your future self. 💌
The “What” and “Where”: Creating a Room-by-Room Inventory
The best way to begin is with a systematic approach. Go through your home one room at a time, opening every cabinet, drawer, and closet. List everything you see, from the big-ticket items like your sofa and television to smaller things like kitchen appliances, books, and clothing. It might seem tedious, but being thorough is your greatest asset.
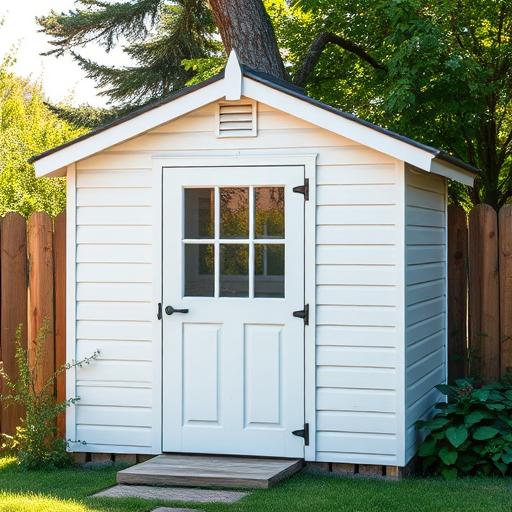
Don’t forget the areas you might overlook, such as the garage, attic, basement, or shed. These spaces often hold valuable tools, seasonal decorations, and sporting equipment that add up quickly. Pay special attention to high-value collections, electronics, and furniture, noting their make, model, and general condition. The more detail, the better!
Capturing the Details: The Art of Photo and Video Documentation
A picture is worth a thousand words, especially to an insurance adjuster. Take clear, well-lit photos of your possessions. Start with wide-angle shots of each room to establish the overall contents. Then, zoom in on individual items, especially expensive ones. Be sure to capture serial numbers on electronics, brand labels on appliances, and any unique details on furniture or artwork. 📸
A video walkthrough is an excellent companion to your photos. Use your smartphone to record a slow, steady tour of your entire home. As you move from room to room, narrate what you’re seeing. Open drawers and closets, and describe items, mentioning when you bought them or their estimated value. This creates a powerful, time-stamped record that is hard to dispute.
Paper Trail Power: Gathering Receipts and Appraisals
Your photos and videos show what you own, but receipts prove what you paid. Whenever possible, gather physical or digital receipts for your major purchases. Scan paper receipts and save email confirmations to a dedicated folder in your cloud storage. This is especially important for electronics, furniture, and appliances.
For one-of-a-kind items like fine art, antiques, or custom jewelry, a professional appraisal is your best proof of value. An appraisal provides an official, expert valuation that holds significant weight during a claim. Keep copies of these appraisals with your home inventory to ensure your most precious items are properly protected.
Building Your Digital Fortress: Safe Storage Solutions
Your home inventory is only useful if it survives the disaster that damages your home. Storing your documentation solely on a computer or hard drive in your house is a recipe for losing it all. The best method is to save everything to a secure cloud-based service like Google Drive, Dropbox, or iCloud. ☁️
For an extra layer of security, create a backup. You can save a copy to a USB drive and keep it in a safe deposit box or at a trusted friend or family member’s house. You could also email the completed inventory to yourself and that same trusted person. The goal is to ensure your files are accessible from anywhere, even if your home and all your devices are gone.
Keeping it Fresh: When and How to Update Your Inventory
A home inventory is a living document, not a “set it and forget it” project. As you acquire new items or sell old ones, your list will become outdated. Plan to review and update your inventory at least once a year. A good time to do this is during spring cleaning or when you’re gathering documents for tax season.
Updating doesn’t have to be a massive undertaking. After making a major purchase, like a new laptop or sofa, simply snap a few photos and upload the digital receipt to your cloud folder. A quick annual video walkthrough can also efficiently document any changes you’ve made to your decor and possessions throughout the year, keeping your records current with minimal effort.
After the Storm: Putting Your Documentation to Work
When a catastrophe occurs, your first concern is the safety of you and your loved ones. Once you are safe and the immediate danger has passed, you can turn your attention to recovery. Your off-site, digitally stored home inventory will become your most powerful tool for initiating your insurance claim.
With your detailed list, photos, and receipts in hand, you can provide your insurance company with a comprehensive and accurate account of your losses. This proactive step helps streamline the claims process, reduces back-and-forth communication, and demonstrates the full extent of your loss. It empowers you to advocate for a fair and complete settlement, helping you rebuild your life and home.